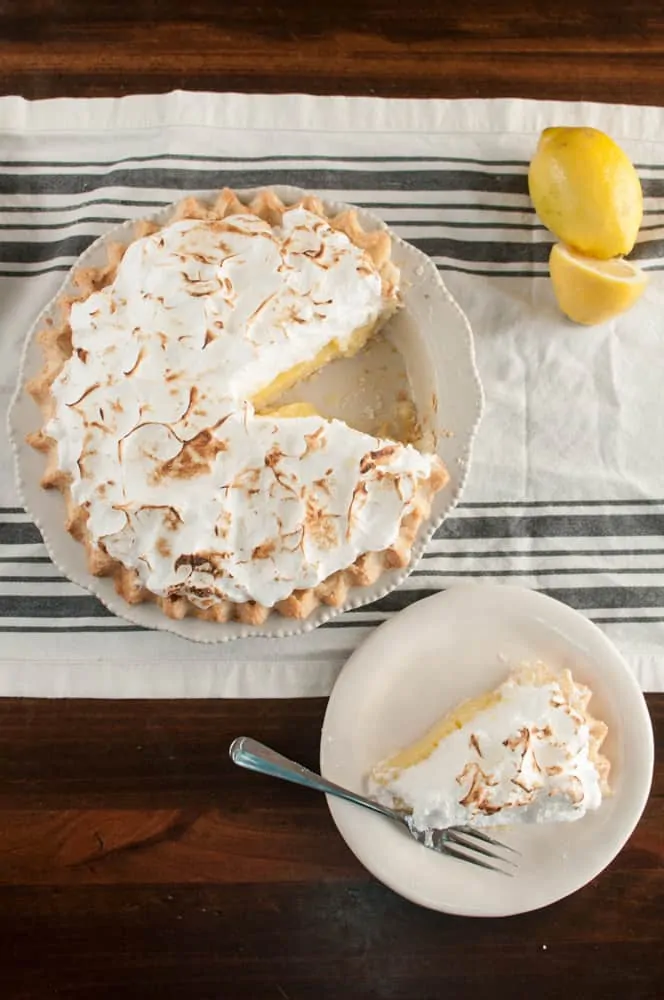
Grandma’s Classic Lemon Meringue Pie
Nothing brings back memories of my Grandma Ada quite like her Lemon Meringue Pie!
This Classic Lemon Meringue Pie recipe is adapted a bit to bring up the lemon flavor a few notches and really build up that meringue. (because who doesn’t love meringue?)
As I was growing up, every spring we would all pack into our van and make the road-trip from Montana to Phoenix, AZ to visit Grandma and Grandpa. It always felt so good to reach that stretch of the trip where cold and wind transitioned into warm sunshine!
My grandparents had a variety of citrus trees in their yard where we had fun climbing up to pick the beautiful ripe fruit. I remember trying to navigate the citrus picker tool and mastering that perfect, satisfying, twist as you pop the lemons off the tree.
For breakfast there was always grapefruit or oranges adorning your plate, and to accompany dinner there was always Grandma’s Classic Lemon Meringue Pie.
When my husband (then fiancé) and I made his first trip to see my grandparents, the very first thing my Grandma said to him as we walked in the door was “would you like some lemon pie?”
I had grand ambition to spend some good time getting creative and experimenting with photography for this pie. Alas, just as I began the shoot, our 6 month old decided he would only be appeased by none-other than mom; he’d had enough of this photography distraction.
I squeezed in a few photos balancing a camera in one hand, and a baby in the other.
Looking back I realize that this was probably just how Grandma usually made her pies; a baby on her hip and balancing everyday life with her love of serving those around her.
Here’s to more Lemon Meringue Pie in everyone’s lives.
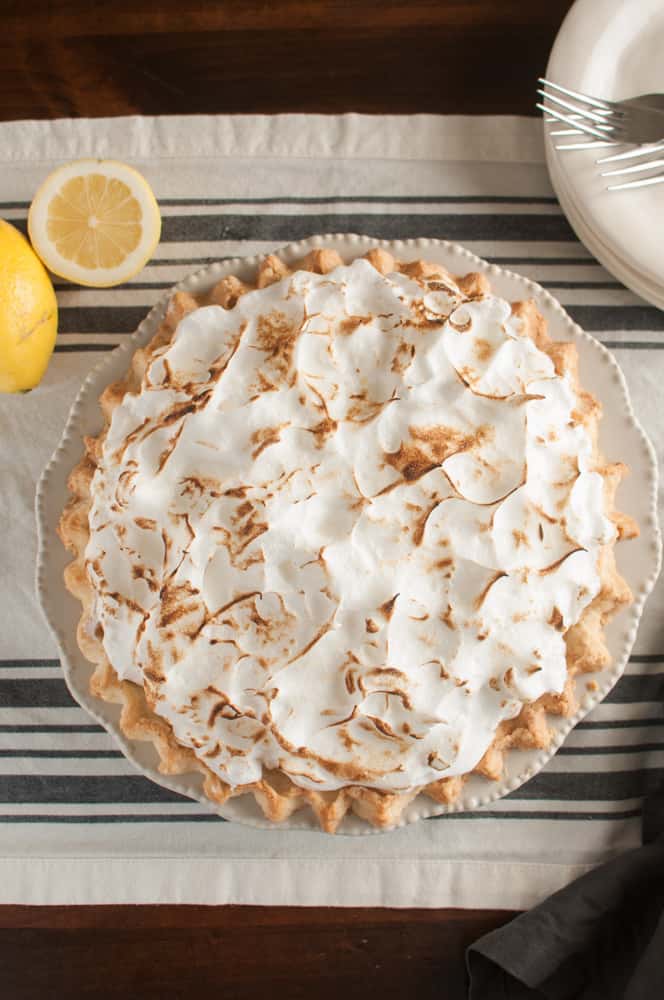
Classic Lemon Meringue Pie

Perfect for Summer, this Classic Lemon Meringue Pie is brought up a level with just the right "pop" of lemon and billows of meringue!
Ingredients
- 1 pre-baked 9" pie shell (We make a gluten free shell)
- 3/4 C. Sugar
- 3/4 C Fresh Lemon Juice (from 6 medium lemons)
- 3 Tbsp. Cornstarch (check label to confirm gluten free if needed)
- 1 C. Water
- 1/4 tsp. Salt
- 6 Egg Yolks, (Save the egg whites for the meringue)
- 1 Tbsp. Lemon Zest
- 3 Tbsp. Butter, Cubed
Meringue:
- 6 Egg Whites, Chilled
- 1/2 C. Water
- 1/2 C. Sugar
- Pinch of salt
- 1/2 tsp. Cream of Tartar
- 1/2 tsp. Vanilla Extract
Instructions
Filling:
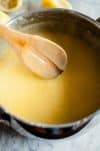
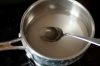
- In a medium saucepan combine sugar, lemon juice, cornstarch, water and salt.
- Stir to combine and dissolve cornstarch.
- Simmer over medium heat, stirring occasionally until mixture becomes translucent and begins to thicken, about 5 minutes.
- Whisk in egg yolks until combined
- Stir in lemon zest and butter
- bring to simmer and stir constantly until mixture is thick enough to coat the back of a spoon. 2-3 minutes

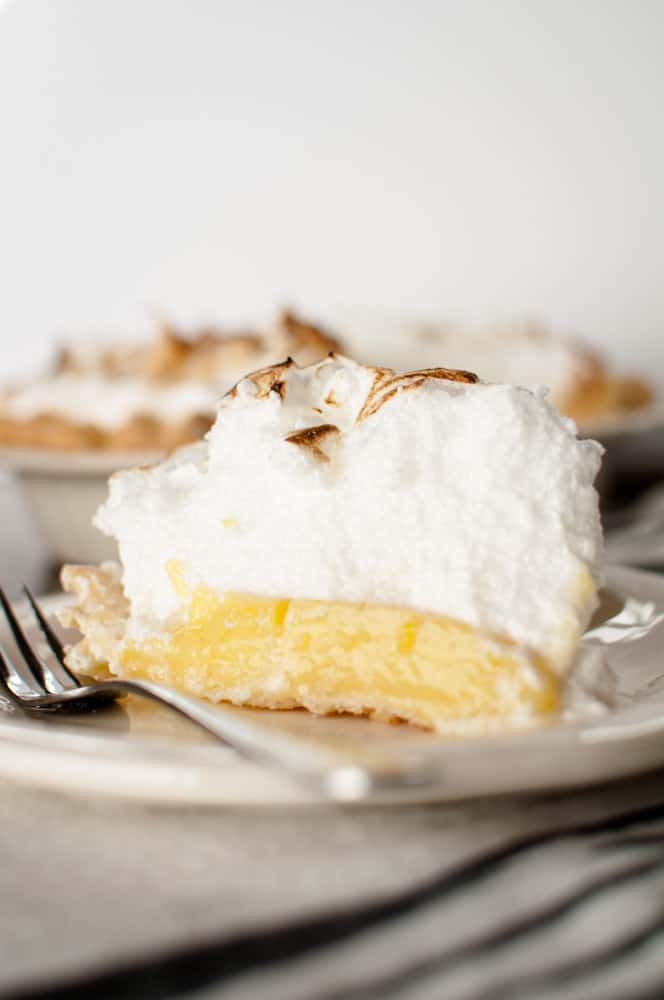
- Strain through a fine mesh sieve, into pie shell, scraping the filling off the under-side of the strainer. (if you don't mind the texture of zest in the final product then you can skip the straining. I personally skip this step when making it for ourselves as I love zest!)
- Refrigerate until set and well chilled, at least 2 hrs and up to a 1 day. (leave uncovered initially. If you cover the lemon curd before it is chilled then it will not set up properly)
Meringue Instructions: (Best prepared before serving)
- Preheat oven to 400° F with oven rack at middle position. (if you have a torch to toast the meringue then you can skip this step.)
- In a small saucepan combine water & sugar.

- Boil until sugar is dissolved and mixture is slightly thickened and syrupy, about 5 minutes. set aside while you mix the egg whites.
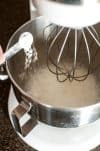
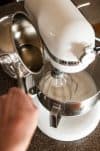
- Whisk the chilled egg whites In the work-bowl of a large upright mixer until frothy, 1 minute.
- Add in salt and cream of tartar, gradually increasing the speed to medium-high.
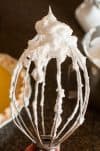
- Beat until SOFT peaks are formed, about 2 minutes
- While mixer is running, slowly pour in the hot sugar syrup mixture, being careful not to splatter.
- Add Vanilla
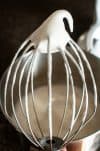
- Beat until mixture becomes very thick and shiny after stiff peaks have formed. 5-9 minutes.
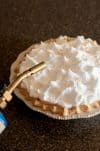
- Using a rubber spatula, mound the meringue over the filling, being sure to seal meringue all the way to the edge where the crust meets.
- Use spatula to form peaks all over the filling.
- Bake in preheated oven just until peaks are browned, about 6 minutes. (alternatively toast with torch until evenly browned)
- Let cool to room temperature and serve!
Notes
The filling for this pie can be made up to a day in advance. For ideal loft, serve the pie immediately, or within an hour, after topping with meringue. You can let the meringue sit longer but it won't remain quite as lofty when cutting.
If you are using a very shallow or 8" pie pan you can make the meringue using just 4 egg whites (other ingredients stay the same).
Nutrition Information:
Yield:
8Serving Size:
1Amount Per Serving: Calories: 586Total Fat: 23gSaturated Fat: 9gTrans Fat: 0gUnsaturated Fat: 13gCholesterol: 150mgSodium: 456mgCarbohydrates: 88gFiber: 3gSugar: 54gProtein: 8g
*Nutrition information is automatically calculated and may not always be accurate.
Did you make this recipe? Leave me a comment below to tell me what you thought, or tag me on instagram @mountainberry_eats to show me your pie! I always love to see everyone else’s creations!